How can we help you?
Thank you! Your submission has been received!
Oops! Something went wrong while submitting the form.
Avatour's Quick Capture feature eliminates the guesswork and complexity associated with capturing and sharing 360 videos. By integrating camera capture with the Avatour cloud service, Quick Capture simplifies the process and makes it easy. Read on for how to use it.
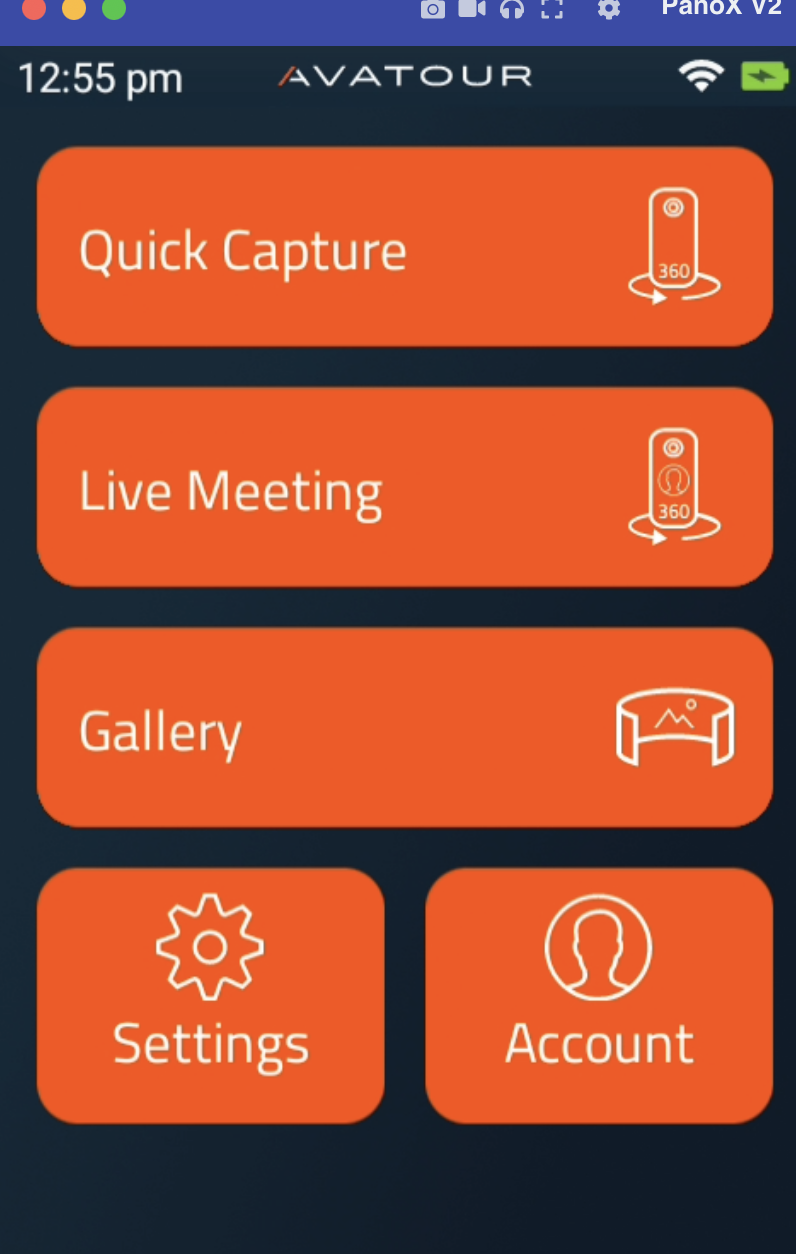
Open the Avatour app on your Labpano camera and Quick Capture is at the top of the menu.
You can use Quick Capture any time, i.e. you do not need to have an internet connection or to be logged in.
Select the "video" option, and tap the red record button to begin recording. As default, the camera will use its built in microphone to capture audio. However, we highly recommend to connect headphones or our bluetooth speaker provided in your kit.
For a list of our recommended audio devices for video recording, please visit this Knowledge Base article.
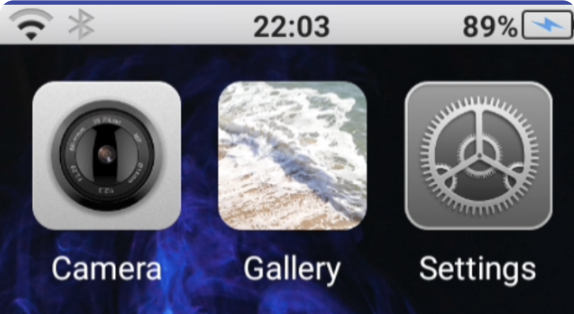
When you've finished recording, the video file will be saved in the app's Gallery. To preview or upload this video, tap the "X" in the top left of your Quick Capture screen. You can also access the Gallery by clicking the Menu button in the top right of any screen in the app and selecting "Gallery."

Your video file should appear at the top of the Gallery. If not, slide the screen from the center and down to refresh this list. You may also want to change your file type filter on this screen to ensure you aren't blocking video files from displaying (see image below).

Find your file, and tap to select it. This will open a screen that allows you to rename, play/preview, change the layout between 2D and 360, delete, and upload to Avatour. By choosing upload, you can then select which Workspaces to add this asset to. If no Workspace is selected, your file will only be uploaded to your My Asset library. You will also have two more options you can choose before upload: 1. to have faces blurred and 2. to have background audio noise reduced in the uploaded video.
Upload times are dependent upon the size of your video file and the bandwidth of your connection.
Upon upload completion, your status will update to DONE and enter processing status.

Once uploaded, your file will be automatically processed. 360 images are processed almost instantly, but 360 videos take time for transcoding into multiple versions for effective streaming.
Processing times for an asset depend on the duration of the video. When there are a large number of assets uploaded (>5) at once, the requests are queued up and the processing times may be further delayed due to platform resources being busy.
To check processing status, you can use a web browser to visit the "Assets" section of your Avatour account. Processing percentage and the estimated time to completion can be found there in your asset library.
To decrease video file sizes and processing time, you can choose to reduce your frame rate and capture bitrate. To do this, Tap the Menu icon in the top right of any screen in the app, select Settings, and choose Quick Capture. Using the dropdown menus, make selections that best fits your needs.
For general use, the default settings of 30fps and 20mbps are recommended, as they comprise a good balance of quality and file size. If you're in a hurry and don't want to wait for upload, you may wish to reduce the target bitrate to 15 or 10mbps, which will reduce the file size.

Avatour's Quick Capture has a set resolution of 4k which usually strikes a good balance between video quality and file size. You can use the Labpano native camera app and increase resolution further to a maximum of 8k (although only 10 frames per second).
Here are the basic steps:
Note: Higher-resolution videos result in larger file sizes, which will take more time to upload. The stitching step is required before uploading.
For recorded 360° video you can use any 360° cam / upload any 360° videos / photos. You can upload the 360° videos directly to the Asset section in the Avatour Web Console. For Insta360 cams you can even run our Avatour app, e.g. on a smartphone (download from the iOS or Android store) and pair it with the Insta cam (up to the model X3 - X4 to follow later this year). In general, the steps are very similar to the ones described above - for more details see How to use Quick Capture with an Insta360 camera?. For all other 360° cameras you will however not have the convenience of the Avatour 360° cam app with Quick Capture and the Gallery.
Have also a look at our 360° Video File Size Calculator.
*) This applies also to the previous Labpano 360° camera models (Pilot One, Pilot Pano) running the same Avatour 360° camera app and having a similar native camera app).
If you run into issues with the steps above, please reach out to us at support@avatour.live


